Idaho Potatoes: A Comprehensive Guide to Preparation
Instructions involve preheating ovens to 350-400°F, pricking potatoes, and coating them with oil before baking or air frying for optimal results.
What Makes Idaho Potatoes Special?
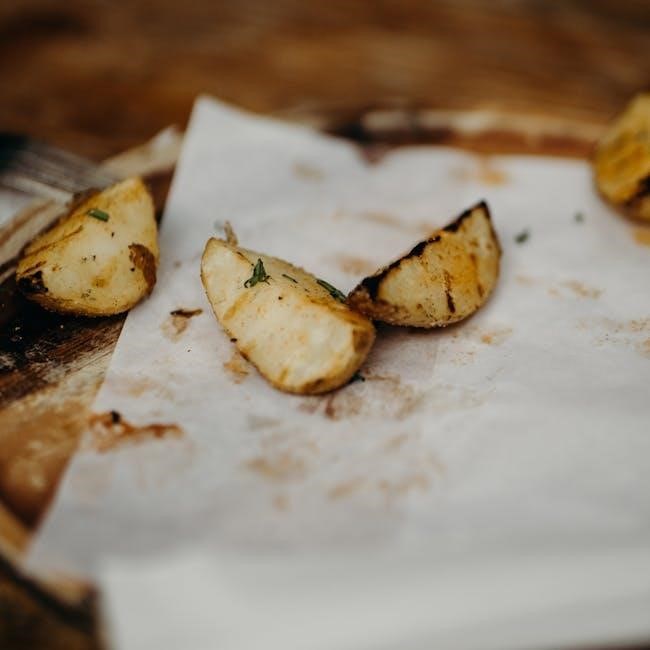
Idaho potatoes, particularly the Russet variety, boast a unique composition ideal for various cooking methods. Their light, dry, and fluffy texture excels in baking, creating that perfect, airy interior. This is due to a high starch content, allowing for maximum absorption of flavors and creating a wonderfully crisp exterior when roasted or fried.
The specific growing conditions in Idaho – volcanic soil, ample sunshine, and careful irrigation – contribute to their distinct quality. These conditions foster a potato with a consistent shape and size, making them reliable for recipes. Whether you’re aiming for classic baked potatoes, crispy air-fried slices, or a gourmet fondant preparation, Idaho potatoes consistently deliver exceptional results.
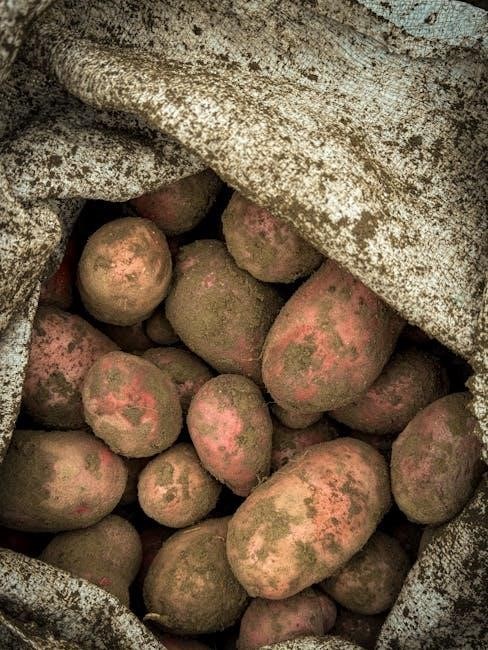
Selecting the Best Idaho Potatoes
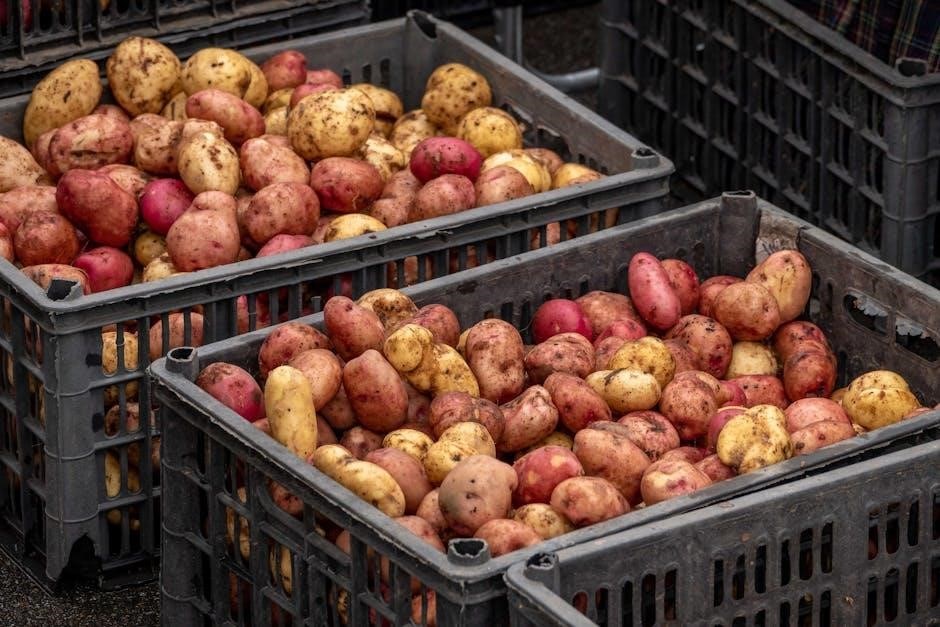
When choosing Idaho potatoes, prioritize firm, smooth-skinned specimens free from blemishes, sprouts, or green patches. A consistent shape and size are beneficial, especially for even cooking. Russet potatoes are the go-to for baking and frying due to their high starch content, while Yukon Golds offer a buttery flavor suitable for boiling or mashing.
Avoid potatoes with cuts or bruises, as these can indicate damage and potential spoilage. Gently press the potato; it should feel solid, not soft or yielding. Consider the intended use – larger potatoes are ideal for baking, while smaller ones are perfect for quick roasting or salads. Selecting quality potatoes ensures a delicious outcome.
Storing Idaho Potatoes for Optimal Freshness
To maintain Idaho potatoes’ quality, store them in a cool, dark, and well-ventilated place – ideally between 45-55°F (7-13°C). Avoid direct sunlight, which can cause greening and solanine production, a toxic compound. Do not refrigerate raw potatoes, as this converts starch to sugar, affecting texture and flavor.
Keep potatoes separate from onions and apples, as these fruits release ethylene gas, accelerating sprouting. A breathable container, like a paper or burlap bag, is preferable to plastic. Check potatoes regularly and remove any that show signs of spoilage to prevent it from spreading. Properly stored, Idaho potatoes can last for several weeks.
Basic Cooking Methods for Idaho Potatoes
Instructions detail baking, boiling, and air frying as primary methods, each offering unique textures and flavors for these versatile potatoes, enhancing any meal.
Baking Idaho Potatoes: A Classic Approach
Instructions for baking begin with preheating your oven to 350°F or 400°F, depending on desired texture. Thoroughly wash and dry the Idaho potatoes, then pierce them several times with a fork or knife – this prevents steam buildup and potential explosions! Next, lightly brush the potatoes with olive oil, ensuring an even coating.
Generously sprinkle with salt; this enhances flavor and helps create a crispy skin. Place the prepared potatoes directly on the oven rack or on a baking sheet. Baking times vary, but generally range from 45 minutes to an hour, or even longer for larger potatoes. Checking for doneness involves gently squeezing the potato; it should yield easily. A knife inserted into the center should meet little resistance.
Preheating and Preparing the Potatoes
Instructions start with preheating your oven – 350°F is standard for a softer potato, while 400°F yields a crispier skin. Begin by thoroughly washing the Idaho potatoes to remove any dirt. Pat them completely dry; moisture hinders crisping. Crucially, pierce each potato 2-3 times with a fork or sharp knife. This vital step allows steam to escape during baking, preventing explosions and ensuring even cooking.
Next, lightly coat the potatoes with olive oil, using your hands to ensure full coverage. This promotes a beautifully browned and crispy exterior. Don’t skip this step! A generous sprinkle of salt is also recommended at this stage, enhancing flavor and aiding in skin crispness.
Baking Times and Temperatures
Instructions dictate baking temperatures between 350°F and 400°F, influencing texture. At 350°F, expect a baking time of approximately 60-75 minutes for medium-sized Idaho potatoes, resulting in a fluffy interior. For a crispier skin, increase the temperature to 400°F, reducing baking time to around 45-60 minutes. Larger potatoes will naturally require extended cooking.
Consistent temperature is key; avoid opening the oven frequently. Baking time also depends on potato size – smaller potatoes cook faster. Remember to preheat the oven fully before placing the prepared potatoes inside for even cooking and optimal results.
Checking for Doneness
Instructions for verifying doneness involve a simple fork test. Gently pierce the potato with a fork; if it slides in easily with minimal resistance, the potato is cooked through. Another method is to squeeze the potato gently – it should yield easily. If there’s significant resistance, continue baking for another 5-10 minutes and retest.
Internal temperature should reach around 210°F for a perfectly baked potato. A slight crack in the skin can also indicate readiness. Avoid excessive poking, as this can release steam and dry out the potato’s interior.
Boiling Idaho Potatoes: Simple and Versatile
Instructions begin with selecting a pot large enough to fully submerge the potatoes in water. Ensure the water level covers the potatoes by at least an inch. Bring the water to a rolling boil, then gently add the potatoes. For optimal results, add potatoes when the water is already boiling, not cold.
Boiling unlocks versatility for mashed potatoes, potato salad, or further cooking. Salt the water generously – this seasons the potatoes from within. Once boiled, drain immediately and finish with desired seasonings or ingredients;
Choosing the Right Pot and Water Level
Instructions dictate selecting a pot significantly larger than the quantity of Idaho potatoes being boiled; overcrowding hinders even cooking. The pot’s material isn’t critical, but stainless steel is preferred for its even heat distribution. Crucially, the water level must completely cover the potatoes, extending at least one inch above their highest point.
This ensures consistent cooking and prevents uneven textures. Insufficient water leads to dry, undercooked centers. Generous water volume also allows for adequate seasoning, enhancing the final flavor profile. Remember to account for water displacement when adding potatoes.
Boiling Times for Different Sizes
Instructions for boiling Idaho potatoes vary significantly based on size. Small, halved potatoes typically require 15-20 minutes of boiling time, while medium-sized, quartered potatoes need approximately 20-25 minutes. Larger potatoes, cut into similar-sized chunks, can take 25-30 minutes or longer.
To accurately assess doneness, pierce a potato piece with a fork; it should slide in easily with minimal resistance. Avoid overboiling, as this results in a mushy texture. Start checking for doneness a few minutes before the estimated time, adjusting as needed.
Draining and Finishing Techniques
Instructions for draining boiled Idaho potatoes are crucial for achieving the desired texture. Once tender, carefully drain the potatoes using a colander, avoiding burns from the hot steam. For a fluffier consistency, return the drained potatoes to the warm pot and let them steam for a few minutes, shaking gently.
To enhance flavor, consider adding a pat of butter, a splash of milk or cream, and seasonings like salt, pepper, and herbs while the potatoes are still hot. This allows for better absorption and a richer, more flavorful final product.
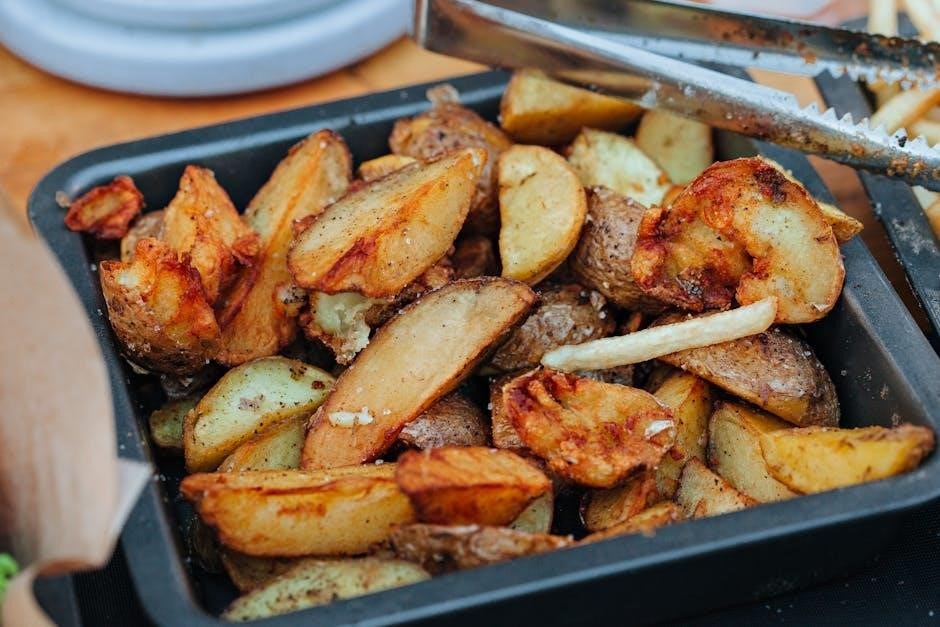
Air Frying Idaho Potatoes: A Crispy Delight
Instructions for air frying Idaho potatoes begin with washing and thoroughly drying them – ensuring dry skin is key for crispiness. Pierce each potato 2-3 times with a fork or knife to allow steam to escape during cooking. Drizzle with cooking oil, then use your hands to evenly coat each potato.
Preheat your air fryer to 400°F. Arrange the potatoes in a single layer, avoiding overcrowding. Air fry for approximately 15-20 minutes, flipping halfway through, until golden brown and crispy. Season immediately after removing from the air fryer for best results.
Preparing Potatoes for Air Frying
Instructions start with selecting Idaho potatoes suitable for air frying – Russets work exceptionally well. Begin by thoroughly washing the potatoes to remove any dirt. Crucially, ensure they are completely dry; moisture hinders crisping. Next, use a fork or sharp knife to pierce each potato 2 or 3 times. This vital step allows steam to escape during the cooking process, preventing a soggy outcome.
Even coating with oil is essential. Drizzle with your preferred cooking oil and use your hands to rub it evenly over the entire surface of each potato, ensuring complete coverage for maximum crispiness.
Air Fryer Temperature and Time
Instructions dictate preheating your air fryer to 400°F (200°C) for optimal results. This ensures even cooking and a delightfully crispy exterior. Air frying time varies based on potato size, but generally, smaller potatoes require around 20-25 minutes, while larger ones may need 30-40 minutes.
For consistently cooked potatoes, flip them halfway through the cooking process. This promotes even browning and crisping on all sides. Regularly check for doneness by piercing with a fork; they should be tender inside and golden brown and crispy outside; Adjust cooking time accordingly.
Achieving Maximum Crispiness
Instructions for ultimate crispiness begin with thoroughly drying the potatoes after washing. Moisture is the enemy of a truly crispy exterior! Ensure the potato skin is completely dry before applying any oil. A light, even coating of oil – olive oil works wonderfully – is crucial.
Don’t overcrowd the air fryer basket; work in batches if necessary to allow for proper air circulation. Piercing the potatoes with a fork before air frying helps release steam, further contributing to crispiness. Finally, a higher temperature, around 400°F, and sufficient cooking time are key.
Advanced Idaho Potato Recipes
Instructions detail creating fondant shapes, searing, braising, roasting with garlic, and crafting decadent fillings for twice-baked potatoes – gourmet experiences await!
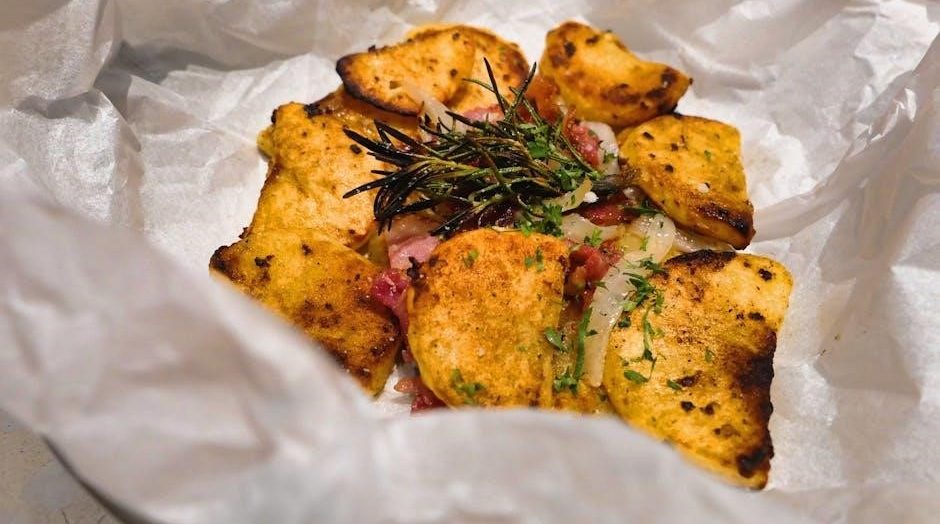
Fondant Idaho Potatoes: A Gourmet Experience
Instructions begin with carefully shaping russet Idaho potatoes into elegant cylinders, a crucial step for achieving the signature fondant texture. Next, these potato forms are meticulously seared in hot oil, developing a beautiful golden-brown crust. This searing process is paramount for flavor and visual appeal.

Following the sear, the potatoes undergo a gentle braising process, often in a flavorful broth or sauce. This slow braising ensures the interior becomes incredibly tender while maintaining the exterior’s crispness. Serving suggestions include pairing these exquisite potatoes with braised cabbage and a rich sauce, elevating the dining experience to gourmet levels. Fondant potatoes are truly a culinary delight!
Creating the Perfect Fondant Shape
Instructions for achieving the ideal fondant shape start with selecting firm Idaho russet potatoes. Peel them meticulously, then carefully cut them into uniform cylinders, approximately 2-3 inches in height. Precision is key; consistent sizing ensures even cooking. Gently round the edges of each cylinder to create a smooth, elegant form.
This shaping process isn’t merely aesthetic; it maximizes surface area for searing, contributing to the signature crispy exterior. Avoid rough edges or uneven surfaces, as these can lead to inconsistent browning. The goal is a perfectly formed cylinder, ready to be transformed into a golden, tender delicacy.
Searing and Braising Techniques
Instructions begin with heating a generous amount of oil (or clarified butter) in a heavy-bottomed pan over medium-high heat. Carefully place the fondant potatoes, cut-side down, and sear until golden brown and beautifully crisp – approximately 5-7 minutes. Avoid overcrowding the pan; work in batches if necessary.

Once seared, add a flavorful braising liquid – chicken or vegetable stock works wonderfully – to partially submerge the potatoes. Reduce heat to low, cover, and braise gently for 20-30 minutes, or until tender. Basting occasionally ensures even cooking and enhanced flavor absorption. This dual process yields a delightful contrast of textures.
Serving Suggestions
Instructions for presenting Fondant Idaho Potatoes emphasize their gourmet appeal. Serve them as a sophisticated side dish alongside roasted meats like lamb, pork, or poultry, complementing their rich flavors. They pair exceptionally well with braised cabbage, creating a harmonious balance of textures and tastes.

For a complete dining experience, accompany the potatoes with a flavorful sauce – a red wine reduction or a creamy herb sauce are excellent choices. Consider offering them as a substantial component of a vegetarian meal, alongside seasonal vegetables. Remember to inquire about dietary restrictions when serving!
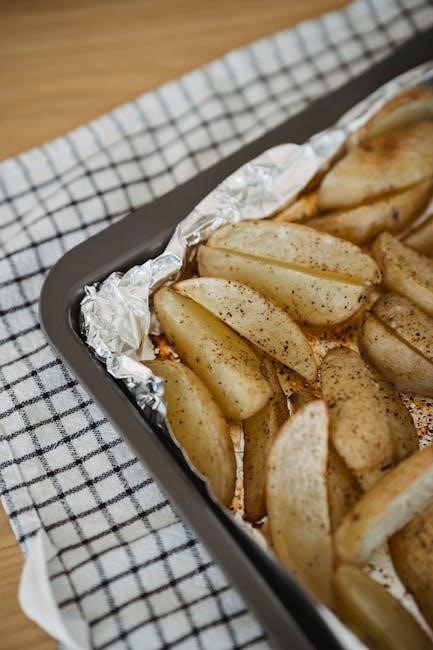
Roasted Garlic Idaho Potatoes: Flavorful and Aromatic
Instructions begin with garlic preparation – roasting whole heads until softened and infused with a sweet, mellow flavor. Combine the roasted garlic with halved or quartered Idaho potatoes, tossing them in olive oil and your preferred herb and spice blend. Rosemary, thyme, and paprika are excellent choices for enhancing the aromatic profile.
Spread the potatoes in a single layer on a baking sheet and roast at 400°F. Roasting times vary, but typically range between 30-45 minutes, or until golden brown and tender. Regularly check for even cooking and adjust temperature if needed.
Garlic Preparation and Infusion
Instructions for garlic preparation involve slicing off the top of a whole head of garlic, exposing the cloves. Drizzle generously with olive oil, ensuring it seeps between each clove. Wrap the head tightly in aluminum foil and bake at 400°F for approximately 40-60 minutes, or until incredibly soft.
Once cooled, squeeze the roasted garlic cloves from their skins; This creates a paste-like consistency perfect for infusing into the Idaho potatoes. Mash the roasted garlic with a fork and combine it with olive oil, herbs, and spices before tossing with the potatoes for even distribution of flavor.
Roasting Times and Temperatures
Instructions dictate roasting Idaho potatoes at temperatures ranging from 350°F to 400°F, depending on desired crispness. For a softer interior and slightly crispy exterior, 350°F for 60-75 minutes is recommended. To achieve maximum crispiness, increase the temperature to 400°F and roast for 45-60 minutes.
Ensure potatoes are tossed halfway through roasting to promote even browning. Larger potato pieces will require longer cooking times. Regularly check for doneness by piercing with a fork; they should be tender on the inside and golden brown and crispy on the outside.
Herb and Spice Combinations
Instructions suggest enhancing roasted garlic Idaho potatoes with diverse herb and spice blends. Rosemary and parsley create a classic, aromatic profile, perfectly complementing the garlic’s flavor. For a bolder taste, incorporate thyme, oregano, or a pinch of red pepper flakes for subtle heat.
Smoked paprika adds a smoky depth, while a dash of cayenne pepper provides a more pronounced kick. Experiment with Italian seasoning or herbes de Provence for a Mediterranean twist. Don’t hesitate to finish with freshly chopped chives or a sprinkle of parmesan cheese for added richness.
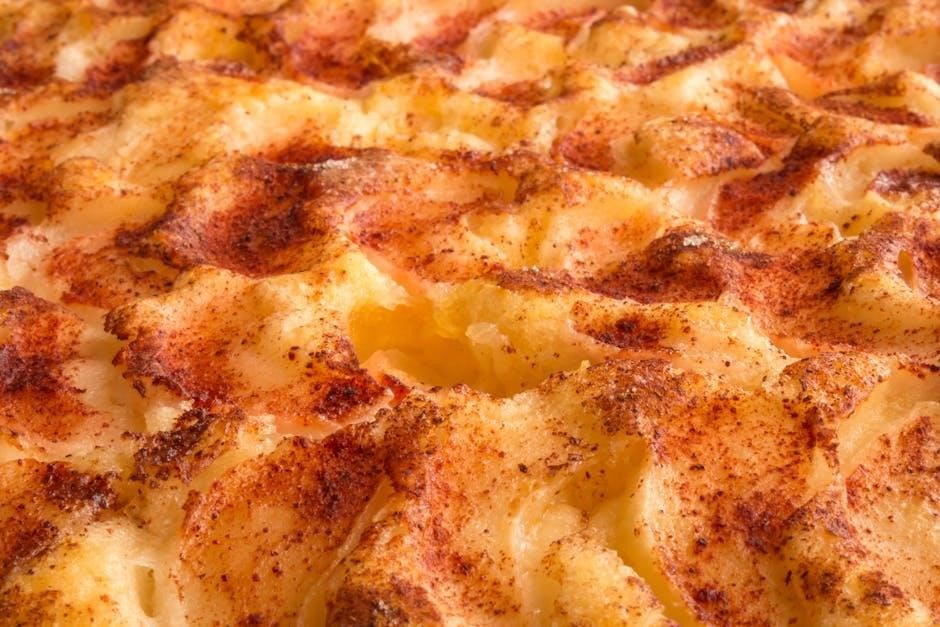
Twice Baked Idaho Potatoes: A Decadent Treat
Instructions begin with initially baking Idaho potatoes until tender; Once cooled slightly, carefully scoop out the flesh, leaving a shell. Create a rich filling by combining the potato with butter, sour cream, cheese (cheddar, Monterey Jack, or your preference), and seasonings like salt, pepper, and chives.
Refill the potato skins with this decadent mixture. For the final bake, return the filled potatoes to a 350°F oven until heated through and the topping is golden brown and bubbly. Garnish with extra cheese, bacon bits, or a dollop of sour cream for an irresistible treat!
Initial Baking and Scooping
Instructions for the first bake involve preheating your oven to 350°F. Thoroughly wash and dry your Idaho potatoes, then prick them several times with a fork or knife – this prevents bursting during baking. Lightly brush the potatoes with olive oil, ensuring an even coating for a slightly crispy skin. Generously sprinkle with salt.
Bake for approximately 60-90 minutes, or until easily pierced with a fork. Allow the potatoes to cool slightly before handling. Carefully slice each potato lengthwise and gently scoop out the flesh, leaving about ¼ inch of potato attached to the skin to maintain its structure. Prepare for the filling stage!
Creating the Filling
Instructions for the filling begin with the scooped-out potato flesh. In a large bowl, combine the potato with your desired ingredients – butter, sour cream, cheese (cheddar, Monterey Jack, or your preference), bacon bits, chives, and seasonings like salt and pepper are classic choices.
Mix thoroughly until everything is well combined and creamy. For a richer flavor, consider adding a dollop of cream cheese or a sprinkle of garlic powder. Adjust seasonings to your taste. The filling should be moist and flavorful, ready to be generously stuffed back into the prepared potato skins for the final bake.
Final Baking and Garnishing
Instructions for the final bake involve refilling the potato skins with the prepared mixture, mounding it generously. Return the filled potatoes to the oven, typically preheated to 350°F, and bake for approximately 15-20 minutes, or until the filling is heated through and bubbly, and the skins are lightly golden.
Once baked, remove from the oven and let cool slightly before garnishing. Popular garnishes include a sprinkle of extra cheese, a dollop of sour cream, chopped chives or green onions, crispy bacon bits, or a swirl of hot sauce. Serve immediately and enjoy this decadent potato treat!
Cooking Time Considerations
Instructions reveal that cooking time varies based on potato size, quantity, and the addition of salt, which enhances flavor during the process.
Factors Affecting Idaho Potato Cooking Time
Several key factors significantly influence the cooking time of Idaho potatoes. Potato size is paramount; larger potatoes naturally require longer cooking durations than smaller ones. The quantity being cooked also plays a role, as a larger volume will increase overall cooking time due to the oven or water temperature potentially decreasing.
Furthermore, initial potato temperature matters – refrigerated potatoes will take longer to cook than those at room temperature. The chosen cooking method drastically alters timing; baking, boiling, and air frying each have distinct time requirements. Finally, adding salt during cooking not only enhances flavor but can also subtly impact the cooking process, though its effect on time is minimal compared to other factors.
Adjusting Cooking Times for Size and Quantity
When adjusting Idaho potato cooking times, consider size first. Smaller potatoes may finish baking in as little as 40-50 minutes at 400°F, while larger ones could require 60-75 minutes or more. For boiling, smaller diced potatoes need around 10-15 minutes, larger chunks 20-25.
Increase cooking time proportionally with quantity. Doubling the number of potatoes in the oven adds approximately 15-20 minutes to the baking duration. When air frying, avoid overcrowding; cook in batches to ensure even crisping and maintain optimal cooking times. Regularly check for doneness using a fork – it should easily pierce the center.
Using Salt to Enhance Flavor During Cooking
Adding salt during Idaho potato cooking isn’t just about seasoning; it significantly impacts flavor development. For boiled potatoes, generously salting the water – aiming for a seawater-like concentration – seasons the potato from within. This process enhances the natural starchiness and creates a more flavorful result.
When baking, brushing potatoes with olive oil and sprinkling with coarse salt before roasting creates a delightful crispy skin. Salt draws out moisture, aiding in browning and intensifying the potato’s inherent taste. Remember, salt helps reduce cooking time, too!